
SSL证书生成和使用
什么是SSL证书?
SSL是一种数字证书,用于加密和验证在互联网上进行的数据传输。它遵守SSL协议,由受信任的数字证书颁发机构(CA)在验证服务器身份后颁发。SSL证书具有服务器身份验证和数据传输加密功能,通过在客户端浏览器和Web服务器之间建立一条SSL安全通道,实现数据信息在客户端和服务器之间的加密传输。这种加密可以防止数据信息的泄露,保证了双方传递信息的安全性。 `通俗易懂的话就是这个证书可以保证我们能够使用https方式访问web页面,更加安全,有保障性`生成SSL证书
我们需要使用到openssl命令工具来创建自签名证书。
openssl命令参数详解:
–days【时间/天】:指定证书的有效时间
-subj 【证书信息】:指定证书的一些信息
CA证书
用自己的私钥和证书申请文件生成自己签名的证书,俗称自签名证书,这里可以理解为根证书。
方法一(直接生成):
直接生成ca的私钥和公钥
openssl req -newkey rsa:2048 -x509 -nodes -keyout ca.key -out ca.crt -days 3650 -subj "/C=CN/O=People's Republic of China/CN=China CA"
方法二(分开生成):
分开生成ca的私钥和公钥
# 生成ca私钥
openssl genrsa -out ca.key 2048
# 生成ca公钥
openssl req -x509 -new -key ca.key -out ca.crt -days 3650 -subj "/C=CN/O=People's Republic of China/CN=China CA"
方法三(通过申请文件):
先生成ca私钥,通过私钥生成证书申请文件,再通过申请文件生成ca的公钥
# 生成ca私钥
openssl genrsa -out ca.key 2048
# 通过ca私钥生成证书申请文件
openssl req -new -out ca.csr -key ca.key -subj "/C=CN/O=People's Republic of China/CN=China CA"
# 生成ca公钥
openssl x509 -req -in ca.csr -signkey ca.key -out ca.crt -days 3650 -extfile /etc/ssl/openssl.cnf -extensions v3_ca
-extfile /etc/ssl/openssl.cnf和-extensions v3_ca这两个参数很重要,生成x509 v3的根证书,推荐使用!!!
- /C=CN:国家/地区代码为 “CN”,表示中国。
- /O=People’s Republic of China:组织名称为"中华人民共和国"。
- CN=China CA:通用名称(Common Name)为"China CA",表示这是一个中国认证机构(Certificate Authority)的根证书。
server端证书
方法一(无需CA签发):
# 生成server端私钥
openssl genrsa -out server.key 2048
# 生成server端证书申请文件
openssl req -new -key server.key -out server.csr -subj "/O=MyDomain/OU=MyDomain/CN=www.example.com"
# 有的浏览器证书比较严格,就需要添加额外配置
echo "subjectAltName=DNS:example.com,DNS:www.example.com" > cert_extensions
# 生成server端的自签名证书,无需CA签发
openssl x509 -req -in server.csr -signkey server.key -out server.crt -days 3650 -extfile cert_extension
方法二(使用CA签发):
# 生成server端私钥
openssl genrsa -out server.key 2048
# 生成server端证书申请文件
openssl req -new -key server.key -out server.csr -subj "/O=MyDomain/OU=MyDomain/CN=www.example.com"
# 有的浏览器证书比较严格,就需要添加额外配置
echo "subjectAltName=DNS:example.com,DNS:www.example.com" > cert_extensions
# 使用ca自签名生成server端公钥
openssl x509 -req -CA ca.crt -CAkey ca.key -in server.csr -out server.crt -CAcreateserial -days 3650 -extfile cert_extensions
补充:如果没有创建cert_extensions文件,直接在命令行指定subjectAltName
openssl x509 -req -CA ca.crt -CAkey ca.key -CAcreateserial -days 3650 -in server.csr -out server.crt -extfile <(printf "subjectAltName=DNS:example.com,DNS:www.example.com")
client端证书
命令行所需格式
client端的证书需要用CA签发才能正常使用
# 生成client端私钥
openssl genrsa -out client.key 2048
# 生成client端证书申请文件
openssl req -new -key client.key -out client.csr -subj "/O=MyDomain/OU=MyDomain/CN=www.example.com"
# 有的浏览器证书比较严格,就需要添加额外配置
echo "subjectAltName=DNS:example.com,DNS:www.example.com" > cert_extensions
# 使用ca自签名生成client端公钥
openssl x509 -req -CA ca.crt -CAkey ca.key -in client.csr -out client.crt -CAcreateserial -days 3650 -extfile cert_extensions
- 组织 (O) = “MyDomain”
- 组织单位 (OU) = “MyDomain”
- 通用名称 (CN) = “\www.example.com”
pc浏览器所需格式
使用以下命令即可生成pc浏览器所需格式的文件:
openssl pkcs12 -export -clcerts -out client.p12 -in client.crt -inkey client.key
搭建nginx对证书的使用
这里我们使用docker进行nginx的部署验证证书。
1.整理需要的证书文件
创建一个目录用来放需要的证书:
mkdir certs
# 查看ssl证书
root@nginx:~# ll certs
-rw-r--r--  1 root  root   1.2K  6 20 11:44 ca.crt
-rw-r--r--  1 root  root   1.2K  6 20 11:55 client.crt
-rw-------  1 root  root   1.7K  6 20 11:53 client.key
-rw-r--r--  1 root  root   1.2K  6 20 11:52 server.crt
-rw-------  1 root  root   1.7K  6 20 11:47 server.key
2.编写nginx配置文件
nginx主配置文件:
# nginx.conf
user root;
worker_processes 1;
worker_rlimit_nofile 1024000;

error_log /var/log/nginx/error.log notice;
pid /var/run/nginx.pid;

events {
    worker_connections 1024000;
    use epoll;
}

http {
    include /etc/nginx/mime.types;
    default_type application/octet-stream;

    log_format main '$remote_addr - $remote_user [$time_local] "$request" '
    '$status $body_bytes_sent "$http_referer" '
    '"$http_user_agent" "$http_x_forwarded_for"';

    access_log /var/log/nginx/access.log main;

    sendfile on;
    tcp_nopush on;
    tcp_nodelay on;
    server_tokens off;
    server_names_hash_bucket_size 128;
    server_names_hash_max_size 512;
    keepalive_timeout 300;

    large_client_header_buffers 4 32k;
    client_header_buffer_size 32k;
    client_header_timeout 15s;
    client_body_timeout 15s;
    send_timeout 180s;

    open_file_cache max=102400 inactive=20s;
    open_file_cache_valid 30s;
    open_file_cache_min_uses 1;

    gzip on;
    gzip_min_length 1k;
    gzip_buffers 4 32k;
    gzip_http_version 1.1;
    gzip_comp_level 9;
    gzip_types text/css text/xml application/javascript;
    gzip_vary on;

    include /etc/nginx/conf.d/*.conf;
}
nginx子配置文件:
# https.conf
server {
    listen 80;
    server_name www.example.com;
    return 301 https://$server_name$request_uri;
    root /usr/share/nginx/html;
    index index.html index.php;

    location / {
        try_files $uri $uri/ /index.php?$query_string;
    }
}
server {
    listen 443 ssl;
    server_name www.example.com;
    ssl_certificate /certs/server.crt;
    ssl_certificate_key /certs/server.key;
    ssl_protocols TLSv1.2 TLSv1.3;
    ssl_ciphers HIGH:!aNULL:!MD5;

    root /usr/share/nginx/html;
    index index.html index.php;

    location / {
        try_files $uri $uri/ /index.php?$query_string;
    }
}
3.编写docker compose文件
# docker-compose.yaml
version: "3"

services:
  nginx:
    image: nginx:latest
    container_name: nginx
    restart: unless-stopped
    privileged: true
    expose:
      - 80
      - 443
    ports:
      - 80:80
      - 443:443
    volumes:
      - ./nginx.conf:/etc/nginx/nginx.conf
      - ./https.conf:/etc/nginx/conf.d/https.conf
      - ./certs:/certs
启动服务并查看:
docker compose up -d
root@nginx:~# docker compose ps
NAME      IMAGE          COMMAND                   SERVICE   CREATED         STATUS         PORTS
nginx     nginx:latest   "/docker-entrypoint.…"   nginx     3 seconds ago   Up 2 seconds   0.0.0.0:80->80/tcp, :::80->80/tcp, 0.0.0.0:443->443/tcp, :::443->443/tcp
测试阶段
首先我们需要配置hosts文件,我使用的是mac电脑,直接修改/etc/hosts文件即可
vim /etc/hosts
--------------------------
127.0.0.1 www.example.com
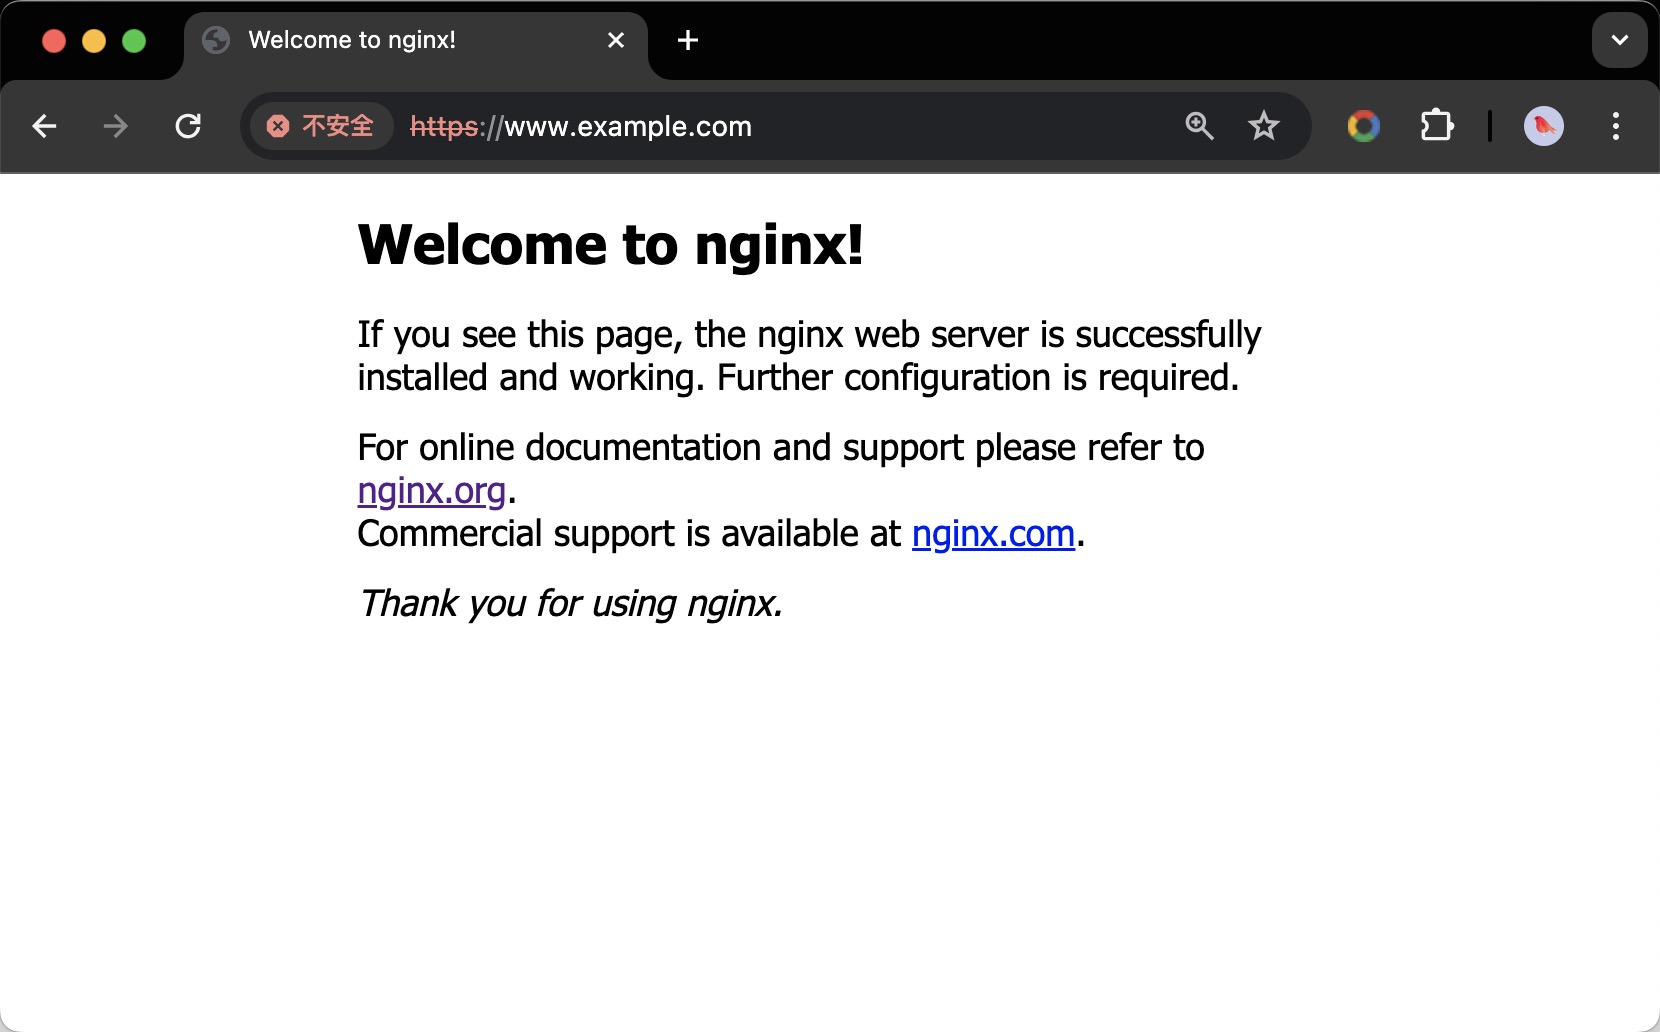
浏览器使用访问https://www.example.com网页即可,如下图所示:
我们可以点击左上角查看证书详情,如下图所示:
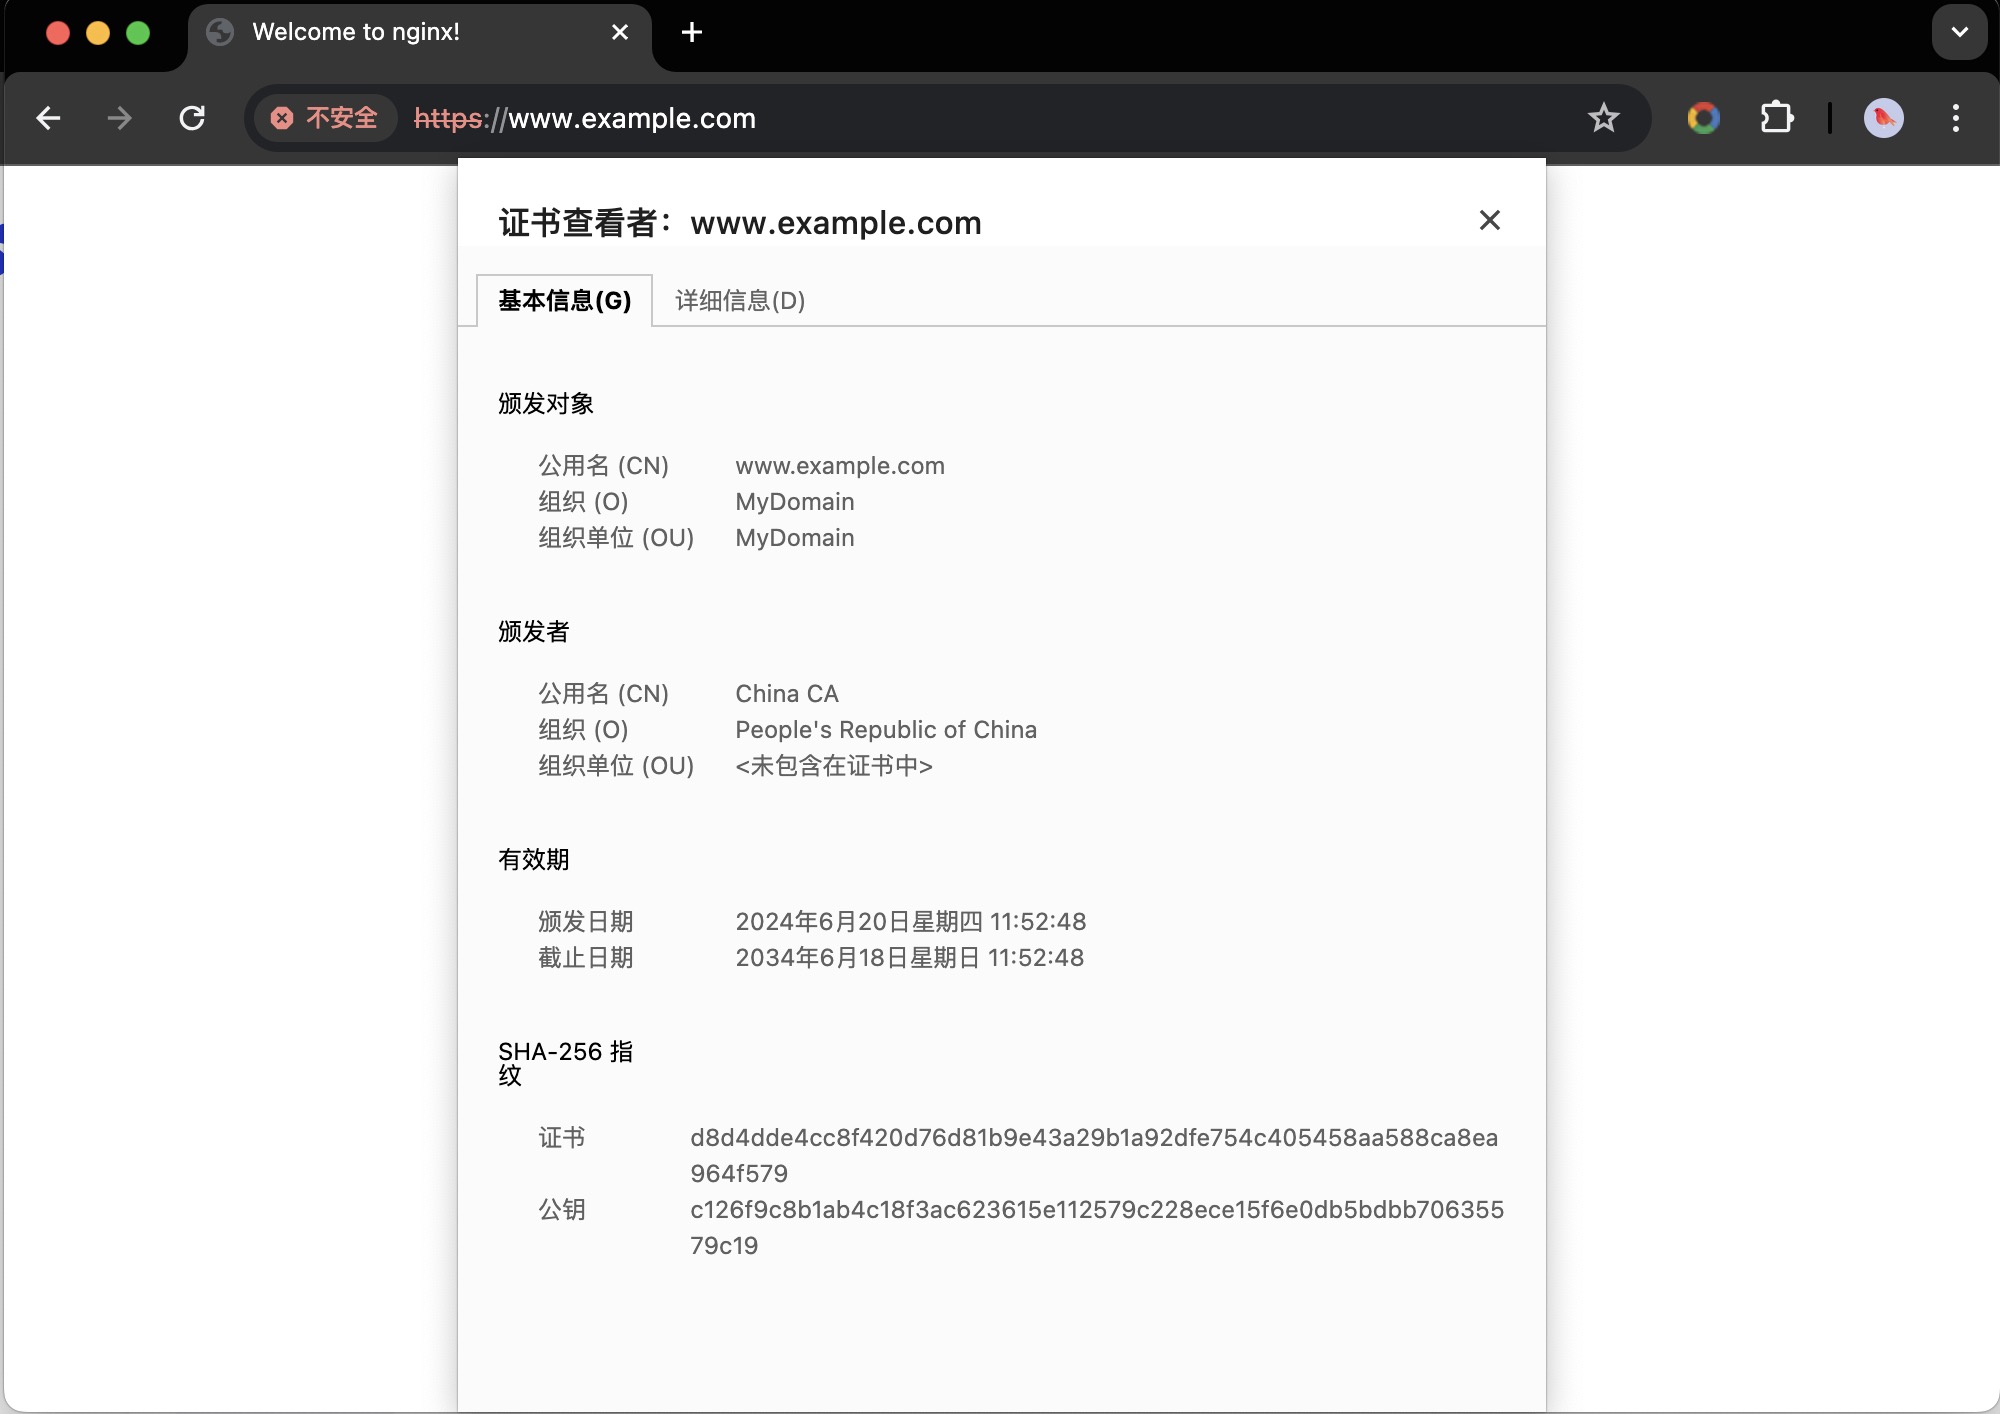
我们可以看到证书的有效期是10年,公用名以及组织和组织单位是我们之前创建证书时设置的。
由于浏览器不信任我们的证书,我们没有在浏览器配置client的文件,所以我们用curl命令来验证可能比较直观一点,命令如下:
curl -k -vo /dev/null https://www.example.com/ --resolve www.example.com:443:127.0.0.1
测试结果:
root@nginx:~# curl -k -vo /dev/null https://www.example.com/ --resolve www.example.com:443:127.0.0.1
* Added www.example.com:443:127.0.0.1 to DNS cache
* Hostname www.example.com was found in DNS cache
  % Total    % Received % Xferd  Average Speed   Time    Time     Time  Current
                                 Dload  Upload   Total   Spent    Left  Speed
  0     0    0     0    0     0      0      0 --:--:-- --:--:-- --:--:--     0*   Trying 127.0.0.1:443...
* Connected to www.example.com (127.0.0.1) port 443 (#0)
* ALPN: offers h2,http/1.1
* (304) (OUT), TLS handshake, Client hello (1):
} [320 bytes data]
* (304) (IN), TLS handshake, Server hello (2):
{ [122 bytes data]
* (304) (IN), TLS handshake, Unknown (8):
{ [25 bytes data]
* (304) (IN), TLS handshake, Certificate (11):
{ [911 bytes data]
* (304) (IN), TLS handshake, CERT verify (15):
{ [264 bytes data]
* (304) (IN), TLS handshake, Finished (20):
{ [52 bytes data]
* (304) (OUT), TLS handshake, Finished (20):
} [52 bytes data]
* SSL connection using TLSv1.3 / AEAD-AES256-GCM-SHA384
* ALPN: server accepted http/1.1
* Server certificate:
*  subject: O=MyDomain; OU=MyDomain; CN=www.example.com
*  start date: Jun 20 03:52:48 2024 GMT
*  expire date: Jun 18 03:52:48 2034 GMT
*  issuer: C=CN; O=People's Republic of China; CN=China CA
*  SSL certificate verify result: unable to get local issuer certificate (20), continuing anyway.
* using HTTP/1.1
> GET / HTTP/1.1
> Host: www.example.com
> User-Agent: curl/8.1.2
> Accept: */*
>
< HTTP/1.1 200 OK
< Server: nginx
< Date: Thu, 20 Jun 2024 07:53:38 GMT
< Content-Type: text/html
< Content-Length: 615
< Last-Modified: Tue, 13 Jun 2023 15:08:10 GMT
< Connection: keep-alive
< ETag: "6488865a-267"
< Accept-Ranges: bytes
<
{ [615 bytes data]
100   615  100   615    0     0  15215      0 --:--:-- --:--:-- --:--:-- 15375
* Connection #0 to host www.example.com left intact
配置SSL双向认证
我们只需要在nginx的子配置文件的server配置段上加上一下配置文件即可:
vim https.conf
-------------------------
server{
    ......
    ssl_verify_client on;
    ssl_client_certificate /certs/ca.crt;
    ......
}
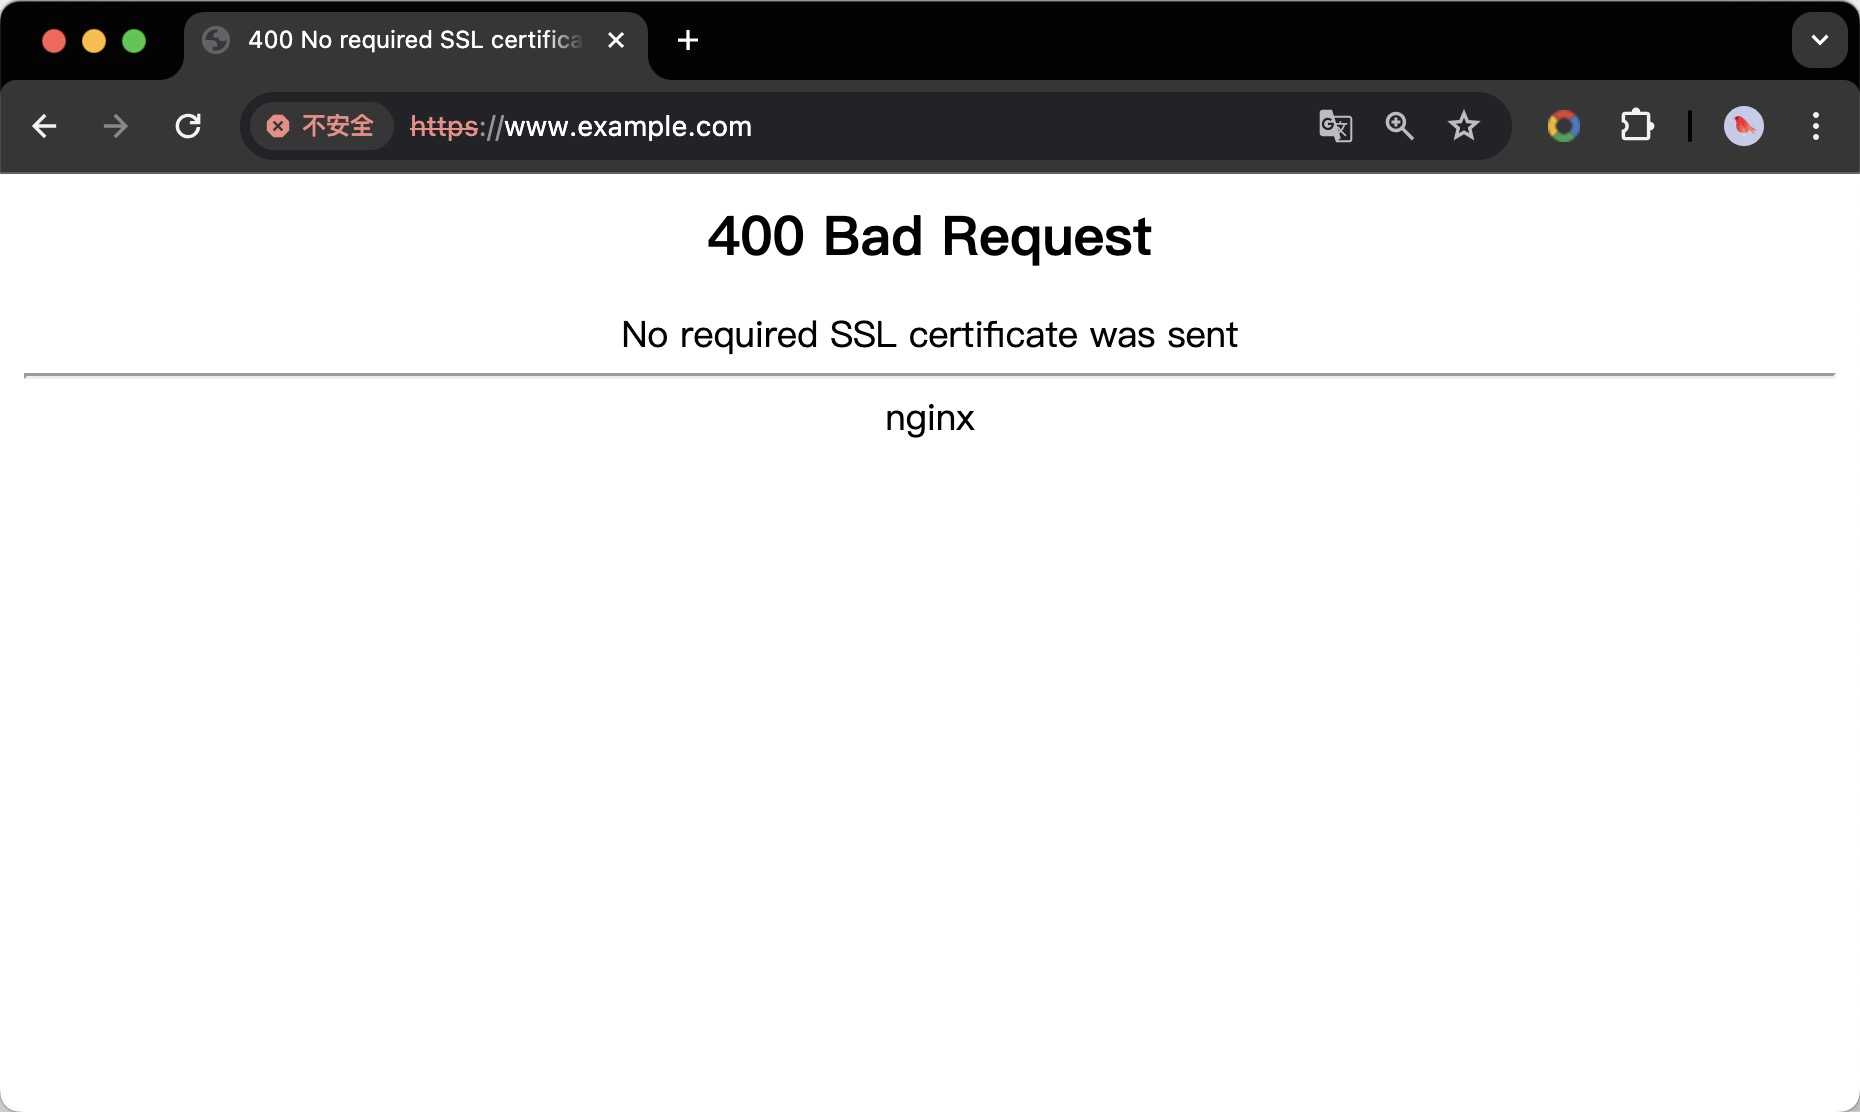
重启服务进行验证,先使用浏览器访问发现页面出现了400,如下图所示:
我们再用curl命令进行测试:
root@nginx:~# curl -k -vo /dev/null https://www.example.com/ --resolve www.example.com:443:127.0.0.1
* Added www.example.com:443:127.0.0.1 to DNS cache
* Hostname www.example.com was found in DNS cache
  % Total    % Received % Xferd  Average Speed   Time    Time     Time  Current
                                 Dload  Upload   Total   Spent    Left  Speed
  0     0    0     0    0     0      0      0 --:--:-- --:--:-- --:--:--     0*   Trying 127.0.0.1:443...
* Connected to www.example.com (127.0.0.1) port 443 (#0)
* ALPN: offers h2,http/1.1
* (304) (OUT), TLS handshake, Client hello (1):
} [320 bytes data]
* (304) (IN), TLS handshake, Server hello (2):
{ [122 bytes data]
* (304) (IN), TLS handshake, Unknown (8):
{ [25 bytes data]
* (304) (IN), TLS handshake, Request CERT (13):
{ [124 bytes data]
* (304) (IN), TLS handshake, Certificate (11):
{ [911 bytes data]
* (304) (IN), TLS handshake, CERT verify (15):
{ [264 bytes data]
* (304) (IN), TLS handshake, Finished (20):
{ [52 bytes data]
* (304) (OUT), TLS handshake, Certificate (11):
} [8 bytes data]
* (304) (OUT), TLS handshake, Finished (20):
} [52 bytes data]
* SSL connection using TLSv1.3 / AEAD-AES256-GCM-SHA384
* ALPN: server accepted http/1.1
* Server certificate:
*  subject: O=MyDomain; OU=MyDomain; CN=www.example.com
*  start date: Jun 20 03:52:48 2024 GMT
*  expire date: Jun 18 03:52:48 2034 GMT
*  issuer: C=CN; O=People's Republic of China; CN=China CA
*  SSL certificate verify result: unable to get local issuer certificate (20), continuing anyway.
* using HTTP/1.1
> GET / HTTP/1.1
> Host: www.example.com
> User-Agent: curl/8.1.2
> Accept: */*
>
< HTTP/1.1 400 Bad Request
< Server: nginx
< Date: Thu, 20 Jun 2024 08:04:36 GMT
< Content-Type: text/html
< Content-Length: 230
< Connection: close
<
{ [230 bytes data]
100   230  100   230    0     0   7088      0 --:--:-- --:--:-- --:--:--  7187
* Closing connection 0
发现状态也是400,是因为我们开启了SSL双向认证,我们需要之前client端的私钥和公钥进行访问,如下所示:
root@nginx:~# curl -k -vo /dev/null https://www.example.com/ --resolve www.example.com:443:127.0.0.1 --cert ./certs/client.crt --key ./certs/client.key
* Added www.example.com:443:127.0.0.1 to DNS cache
* Hostname www.example.com was found in DNS cache
  % Total    % Received % Xferd  Average Speed   Time    Time     Time  Current
                                 Dload  Upload   Total   Spent    Left  Speed
  0     0    0     0    0     0      0      0 --:--:-- --:--:-- --:--:--     0*   Trying 127.0.0.1:443...
* Connected to www.example.com (127.0.0.1) port 443 (#0)
* ALPN: offers h2,http/1.1
* (304) (OUT), TLS handshake, Client hello (1):
} [320 bytes data]
* (304) (IN), TLS handshake, Server hello (2):
{ [122 bytes data]
* (304) (IN), TLS handshake, Unknown (8):
{ [25 bytes data]
* (304) (IN), TLS handshake, Request CERT (13):
{ [124 bytes data]
* (304) (IN), TLS handshake, Certificate (11):
{ [911 bytes data]
* (304) (IN), TLS handshake, CERT verify (15):
{ [264 bytes data]
* (304) (IN), TLS handshake, Finished (20):
{ [52 bytes data]
* (304) (OUT), TLS handshake, Certificate (11):
} [911 bytes data]
* (304) (OUT), TLS handshake, CERT verify (15):
} [264 bytes data]
* (304) (OUT), TLS handshake, Finished (20):
} [52 bytes data]
* SSL connection using TLSv1.3 / AEAD-AES256-GCM-SHA384
* ALPN: server accepted http/1.1
* Server certificate:
*  subject: O=MyDomain; OU=MyDomain; CN=www.example.com
*  start date: Jun 20 03:52:48 2024 GMT
*  expire date: Jun 18 03:52:48 2034 GMT
*  issuer: C=CN; O=People's Republic of China; CN=China CA
*  SSL certificate verify result: unable to get local issuer certificate (20), continuing anyway.
* using HTTP/1.1
> GET / HTTP/1.1
> Host: www.example.com
> User-Agent: curl/8.1.2
> Accept: */*
>
< HTTP/1.1 200 OK
< Server: nginx
< Date: Thu, 20 Jun 2024 08:06:30 GMT
< Content-Type: text/html
< Content-Length: 615
< Last-Modified: Tue, 13 Jun 2023 15:08:10 GMT
< Connection: keep-alive
< ETag: "6488865a-267"
< Accept-Ranges: bytes
<
{ [615 bytes data]
100   615  100   615    0     0  18559      0 --:--:-- --:--:-- --:--:-- 18636
* Connection #0 to host www.example.com left intact
之后发现访问返回200,说明配置双认证成功!!!